
I am a prolific gamer and was having a lot of issues regarding the lag in my game. It is really annoying when you know that you are good at a game and then lose to someone new to the game just because your connection isn’t that good. It mostly ends up in rage quits in the game and obviously you can’t move towards the top charts if you play like that. I decided to change it by using a range extender to get the range of my router stronger and therefore freeing my game of the lag that I was experiencing. I brought home my router and then set it up using the myrepeater login setup.
Well it was quite simple and didn’t take much time. You don’t believe me? Well then, let me go ahead and tell you the process of how I set it up using the aforementioned link.
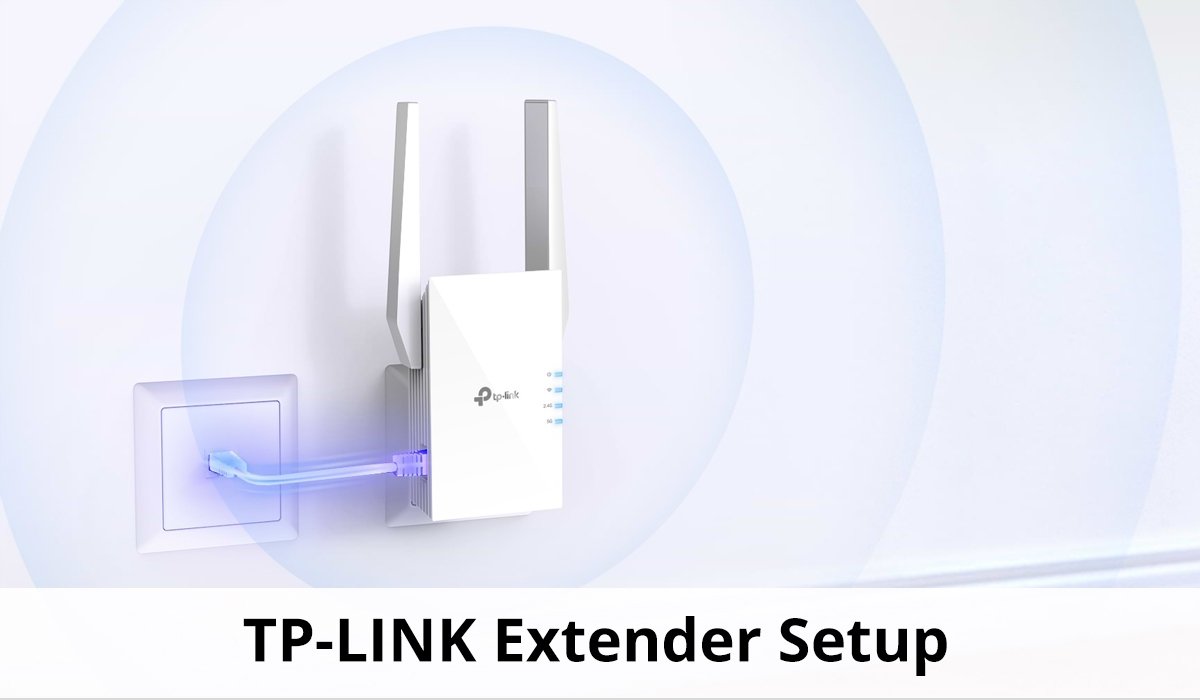
Setting up the extender using myrepeater login
I took out my extender and then connected it to my laptop. I did it with an Ethernet cable. Yes, I could’ve connected it using my wifi in the laptop but the Ethernet cable came among with the extender so I just put it on for the aesthetic. Because why not? Then I proceeded to open up my browser and type myrepeater.net into the address bar. This redirected me to the myrepeater login page. The login page needed me to enter a few credentials which I did as the login name and password.
After that, I was redirected to the setup page where I could enter the details of my router. The details if my router is basically required by the extender in order to connect to it. Therefore, the details were needed to be entered in an accurate fashion. If the wrong details were entered then the extender would not be able to connect to the router and therefore not be able to relay the network. After I entered the details it was quite easy. The repeater set itself up and restarted and then I needed to plug it out. Then I proceeded to plug it in the place I needed the extender to extender the network.
Resetting your extender to the factory settings
Now I did not seem to have any sort of lag in my gaming. But after a few days, I did notice the speeds of the extender going down and therefore was inclined to check it up. The extender was not able to give me good results. I, therefore, tried to reset it to its factory settings. Now while I could’ve gone to the extender and manually reset it to its factory settings, it didn’t seem convenient. The myrepeater setup feature did my job.
I just went on the setup page and logged in. After that u searched for the reset it factory settings button and clicked on it. Voila, it worked like a charm. The repeater reset itself to its factory settings in no time and it was ready for use again. This time I set it up again and extended the details as I had mentioned above. The extender worked perfectly once again. My game was out of the laggy situations again and I could play in peace.
Taking care of firmware update
If you have an extender you wouldn’t want it to be running on the same software for a time too long. You will need to keep it up to date. How did I do that? Well, all extender companies regularly release software updates or firmware updates that need to be installed in order to keep the device running in optimal conditions.
Myrepeater login firmware update feature can do that too for me. All I need to do it to log in to the setup page and then check for firmware updates. Once I am able to find any, I can press click on it and it will download and install automatically. After the installation of the updates, running a short power cycle would be advisable. And that is how I solved my problem with dead spots and got to the top of my game.
Shabbir Ahmad is a freelance enthusiastic blogger & SEO expert. He is the founder of Shifted Magazine & Shifted News. He contributes to many authority blogs including porch, hackernoon & techcrunch.