
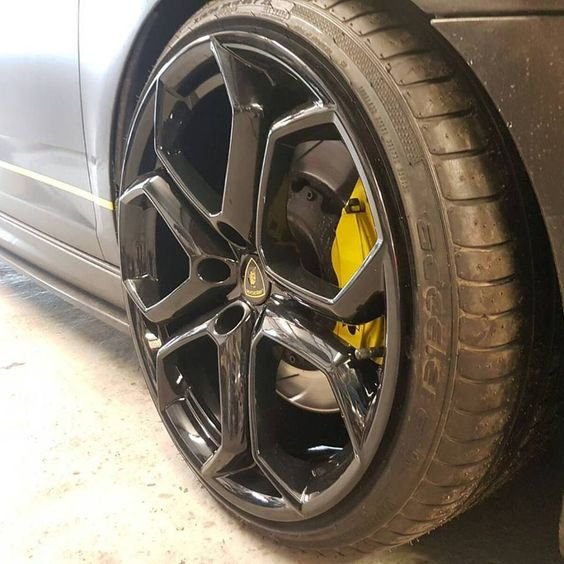
If you are thinking to get back the lost sparkle of your car then surely wheel refurbishment is the simplest way to start. Often people think that getting back the shine is just about repainting or respraying, but it is high time to realize what makes a car look dull. You can easily get back a huge portion of its glazy appearance by just paying a little attention to the appearance of the wheels. Once you shine up your alloy wheels then you shall see the difference in the car’s look and be amazed at it.
Is It Possible at Home?
After witnessing a harsh pandemic period, the whole world had to turn to their home for everything as no other choice was available. And so like many other things, even wheel refurbishing can also be done at home by following the right procedure and with proper tools and equipment. Here is a step by step guide below for the refurbishment DIY of your car alloy wheels UK.
But before you start with the process, you need to gather all that you need for this task. What are the necessary items for it?
- Clear coat
- Primer
- Sandpaper
- Coloured paint
- Masking tape or even playing cards
- Cleaning materials
- Protective clothing
- Gloves
- Sanding mask
- Wheel removing equipment or jack stand
- Alloy repair
Guided Steps
As you are ready with everything that is needed for this procedure, you need to look for a proper space which is wide enough to carry out the task with the wheels. Also, the time for each wheel needs to be kept in mind which is approximately around 4 hours and so you should know that all the wheels cannot be done in a day. So if you plan to refurbish all the four wheels, which is the best way to go, minimum of two days are required to complete it the proper way. Now let us get into the main process of working.

· Removing the wheels before starting off with anything is the smart way. You may refurbish the wheels while they are still fitted to the vehicle but that shall not give you 100 percent pro finishing or that much quality work. Also if the wheels are detached then they can be taken to a place with better lighting which helps in the working.
· The ATS alloy Wheels that are to be refurbished first needs to be cleaned to make them completely dust and dirt free. Otherwise, it shall become a problem to get a fine finish of the paint.
· Once cleaned each wheel has been dried properly, they get ready for the next step of masking. Quite skillfully, the masking tape needs to be wrapped around the wheels so that only the alloy portion remains exposed for refurbishing and keep the other parts safe from paint stains. In fact, playing cards can also come handy for this if they are put into the slots around the wheels to build a fan-like covering structure around the alloy.
· Next is the surface smoothening process using the sandpaper and finally wipe it with a dry piece of cloth. Now if there remains any kind of a scratch or dent that cannot be smoothened with the sandpaper then that needs to be dealt with alloy repair filler. Then again another round of sandpaper rubbing is needed to have the filler at the same level of the smooth surface.
· Now the wheel can be washed and dried properly before the priming step. A thin coating of primer spray should be followed and not for once but about 2 to 3 times. Once it dries another round of sandpaper rub is needed to get rid of any uneven surface.
· Then finally the wheel needs to be painted, and if felt necessary then adding a protective coating over it, called the wheel sealer. Once all done, the mask tape or cards can be removed and the wheels can be fitted back to the car. This is when you shall see how much of a difference it can make.
Shabbir Ahmad is a freelance enthusiastic blogger & SEO expert. He is the founder of Shifted Magazine & Shifted News. He contributes to many authority blogs including porch, hackernoon & techcrunch.